Storefront 2.1 – Step by Step from install to secure (3/3)
This article is a part of a series of three where I describe the installation of 2 storefront servers, secured, load balanced and accessed from external network.
The Storefront servers installation is covered in the first article.
The second article covers the certificate creation on NetScaler.
Today, we will install an Access Gateway and a Lload balancer for our 2 Storefront servers.
2/3 Configure NetScaler for remote access
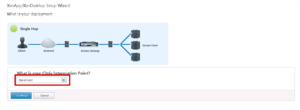
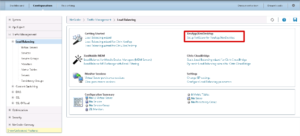
First, go to your NetScaler Console. Under Traffic Management / Load Balancing, choose Setup NetScaler for XenApp/XenDesktop. It will start a Wizard.
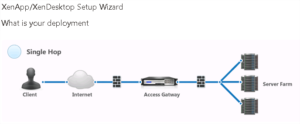
Select Single Hop.
Choose Storefront as Integration Point.
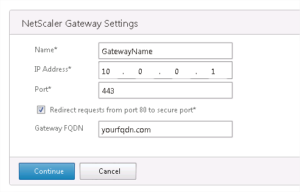
For The Gateway enter:
- a Name: I like to name it as the external fqdn.
- an IP address: accessible from the Internet.
- Check the Redirect requests from 80 to secure port. So, your users won’t have to type HTTPS:// in their browser.
- The Gateway fqdn: this is the fqdn for which you have installed the certificate the step before.
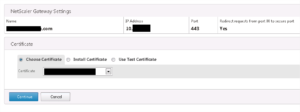
Choose the certificate you’ve imported before (see previous article).
In the next screen, you’ll be prompted to enter authentication parameters. (Screen shot missing).
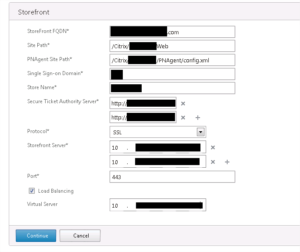
Then, Enter Storefront parameters:
StoreFront FQDN: your internal Storefront fqdn.
Site Path: (see your storefront console) something like “/Citrix/storeNameWeb”
PNAgent Site Path: (see your storefront console) something like “/Citrix/storeName/PNAgent/config.xml”. Only if you have activated the legacy PNAgent support in your Storefront installation.
Single Sign-On Domain: your internal domain name.
Store Name: Storefront store name.
Secure Ticket Authority: I recommend to enter th address of two XenApp/XenDesktop Controlers.
Protocol: SSL of course.
Storefront Servers: enter the 2 IP of your Storefront servers.
Port: 443 (or other if you know what you do).
Check Load Balancing to create an LB server.
Virtual Server: enter the IP address desired for your load balancer server.
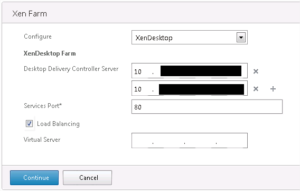
Then, enter the farm information. Nothing specific here except that you can load balance XML service here too checking the box and entering an IP for this new Load Balancer.
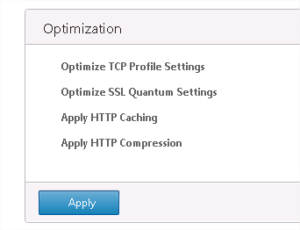
You can then apply optimizations.
Depending on your licences, you may encounter this warning message:
On NetScaler 10.1 Build 120.13 (and maybe others…), there is a bug. The load balancer’s monitor is not set to secure. You have to create a new one. Connect to your NetScaler through SSH and create a new Load Balancer:
add lb monitor storefront_ssl STOREFRONT -storename YOURSTORENAME -storefrontacctservice YES -secure YES
From the NetScaler console, link this New LB to the load Balancer created by the wizard.
That’s it for today.
Don’t hesitate to comment if you want more information on this quick guide.
Regards.
Jerome.
